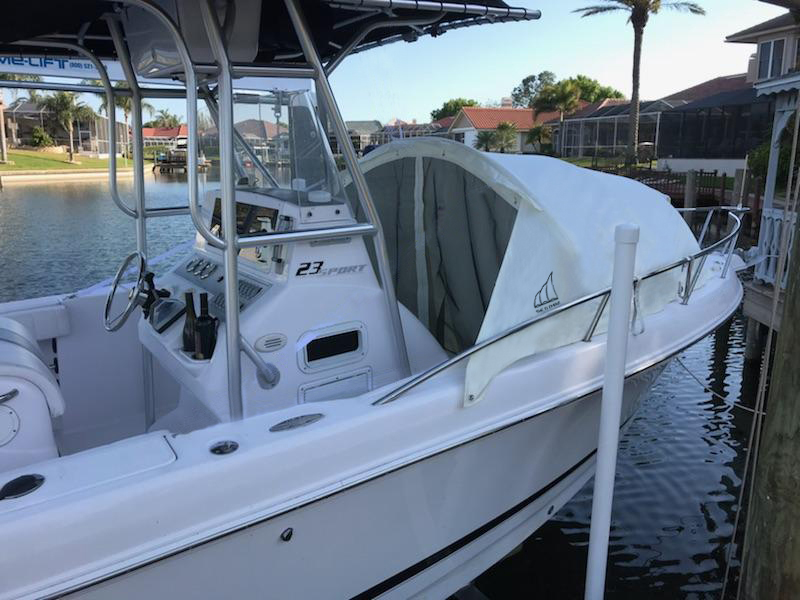
When you installing the track for your ELEMENT®, you should have located the mounting surface, which is on the forward top gunnels on your vessel. To make it easier; we have marked the desired location on the top gunnels surface with a green line on our diagrams and on video footage.
The track comes precut in three sections: the section of track that will be installed at the center is the longest of the three sections; the other two sections are the same length, those will go Port and Starboard as a continuation of the track. It’s important to align the longest section of the track with the center of the bow. That will allow you to even out the length of track for Port and Starboard side.
Locate the area where you should install your Element’s track. Start at the most forward point; mark that line for the mounting track as show on video with red tape.
Determine where you will be drilling, you will start installing the center section of the track, after aligning the center of the bow with the center of the track; you’ll be using the predrilled holes on the track and drill about 3 – 4 holes on each side of the center track, securing with the #6 screws that provided with the Element. After completing this process the track will be secured and allow you to start bending it into the desired shape of your bow.
To have the track bent in a corrected way: you skip about 2 to 3 holes depending on the curve of your bow; drill at the center of the curve and secure it with a screw.
To complete bending the curve; you will skip again 2 to 3 holes at the center of the track, continue shaping the desired curve drill and secure it with a screw; before you doing so, make sure to leave a minimum of 1 and ½ inch space from the inner side of the track to the inner edge of the top gunnels flat surface that will allow you to have enough space to rest the legs of the frames as demonstrated in our video.
When the curve of your track is completed; continue securing the track on those skipped predrilled holes to achieve maximum strength.
After completing the process of curving and securing the center track on both sides; continue installing the side section tracks. While completing the process of the side track you will make sure you left enough space which is 1 and ½ inches or more to rest the legs of your canopy’s frame.
Align the side section tracks with the ends of the center track, by doing so; you will create a continuation between the center section and the side sections, drill one hole at the beginning of the side track and securing it following the shape of the side top gunnels. You skip 2 to 3 holes at the time; make sure you will leave enough space for the legs of the frame.
After securing the frame, you drill the rest of the holes and secure the track for maximum strength.
When you completed the process on one side; repeat the process on the other side track.
Now your track is ready to receive the bottom section of The Element®.

